


A site dedicated to discussion of these classic boats
 Wahoo! owner Tom Brennan recently discovered a leak in the fuel tank of his 1989 Wahoo! 1850 Offshore. He’s in the process of replacing it and graciously offered to share his experience. Fuel tank leaks are a common issue in the Offshores, due to their below-deck location and the lack of below-deck air circulation.
So here it is, with lots of great info. Thanks Tom!
(Note: As of this writing (3/17/13), Tom wasn’t completely done with the project (e.g., he hadn’t replaced the deck), so it’s possible this article will get updated with new info.)
Also, for more below-deck and cutaway shots of an 1850, see these great restoration project photos by Joe Bernard.
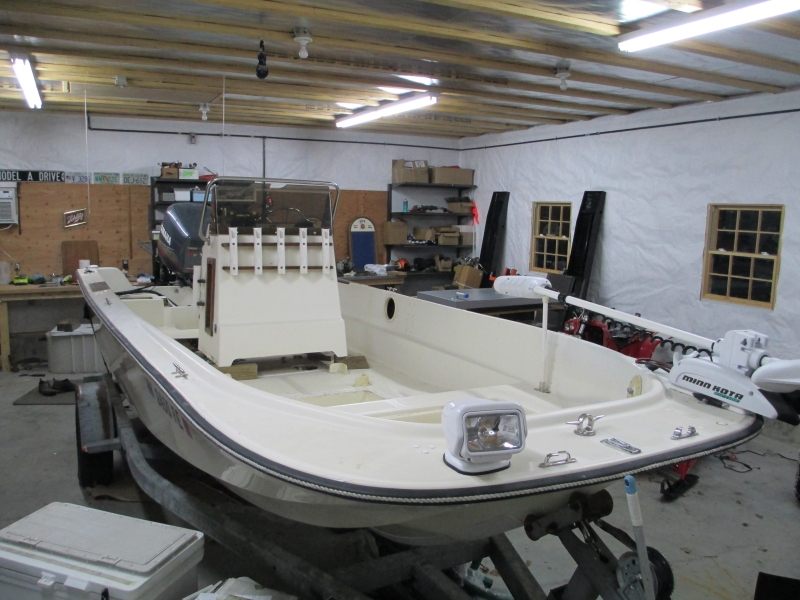
I live in southern New Hampshire. Prior to owning my Wahoo I had a 14 foot Mckee Craft (Whaler style) that I fished hard. But with three boys and big dreams, I needed a bigger boat. I happened to see an 18 foot Wahoo! Offshore. It was a mess but I knew the design would be perfect for me. So for over two months I hunted Craig’s List from Maine to Florida. Eventually I found a boat in West Virginia that looked promising, selling for just under six thousand dollars. I traveled solo non-stop to see it in person. It was in awesome shape, with a 2001 Yamaha Saltwater Series 150 that ran like new. The title identified it as a 1989 but contained no other information of note. I had it home by Sunday.
Not long after acquiring it I took it for a two week fishing trip on the Ottowa River in Canada. I ran it hard every day with no issues. Great trip–180 fish, 12 species. Wow (i reeled in 3). Returning home, I next took it out in Portsmouth Harbor where we banged around the ocean all day. Back home that evening as I was cleaning up my wife smelled gas. I opened the access ports and the smell was very strong. I knew right then I had a leak. I wouldn’t be taking my kids out in the boat until it was fixed. The tank had to come out.
Now when I bought the Wahoo! I knew it would need a new fuel tank eventually. I’ve changed tanks in a 33 Egg Harbor from that experience know that the constant to moisture over many years will eventually rot pin holes in aluminum (crevice corrosion). However, the way I replaced tanks in the Egg (the right way) is impossible in a Wahoo!.
To replace the tank meant cutting it out of the deck. And the challenge there was figuring out the dimensions of the tank and where to cut. Before doing any cutting, of course, I got every last drop of gas out of the tank. I did not want to remove the whole center console, so I lifted and blocked it as high as the cables/wires would allow.
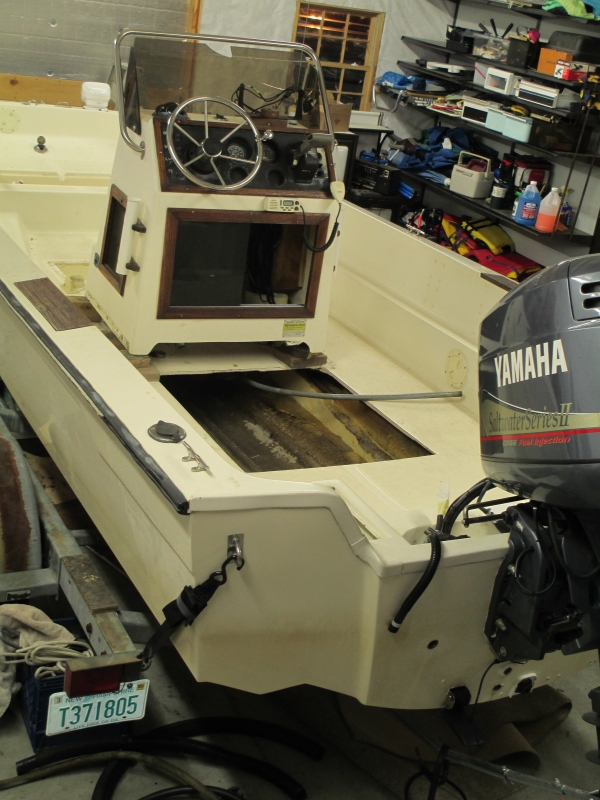 The final cut  Another view |
Measuring through the access holes I was able to determine that the tank was 29 inches wide and the drain lines on the floor of the boat centered at 30 1/2 inches. So my first cut would be for width. I laid down tape on the deck and drew my cut lines on the tape. I decided to make the rear width cut first. I wanted it to be as far back as possible, about an inch short of the stringer. (I wanted it an inch shy of the stringer because I planned to later build a two inch ledge for the floor piece to sit back on.)
For the front width cut, I wanted to go as far forward as I could without cutting under the center console. That turned out to be 36 inches from my rear cut. So the dimensions of the opening would be 30.5 by 36 inches.
I made one plunge cut with a vibrating saw and did the rest of the cutting with a jigsaw. The cut didn’t need to be perfectly straight. I’d hoped that 36 inches would be a long enough hole to allow me to pull tank out. Unfortunately, it wasn’t. In the end I had to cut a section off the back of the tank to get it to come out. To put in the new tank, I’d either have to cut out more of the deck or go with a shorter tank.
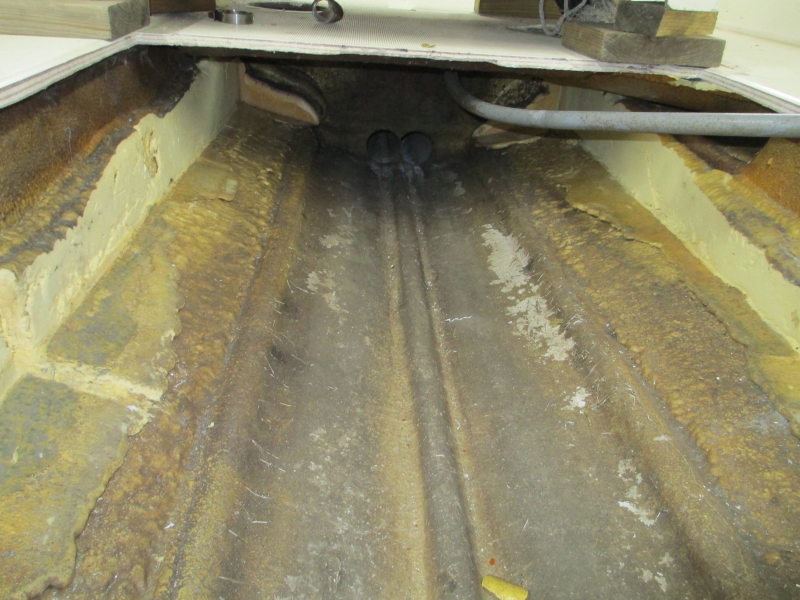 The fuel tank cavity: forward view  Rearward view |
After removing the tank I inspected it but could not find a leak. In fact, 99% of the tank looked in great shape. So I took it to a local metal shop. At first the repairman there couldn’t find one either but on closer inspection he said, “There it is,” and pointed to a light white ring of haze, rough in the middle., towards the front on the port side.
Later when I got home I looked at the tank cavity and found a dip in the foam that had trapped moisture (possibly from normal condensation) against the tank. Lack of air circulation below deck would have made it difficult for this moisture to dry out. The leak was high enough in the tank that it wasn’t until I took the boat on the ocean that wave action sloshed the gas high enough to reach it. Considering the way the tank is laid in the belly of these boats, foamed all the way down each side and corner, I’d guess such leaks are common over time.
The old tank was 45 gallons but I was willing to live with less.I preferred that to cutting more deck. So I had a new one made a bit shorter and shallower (its capacity is 36 gallons). I kept the width of the new tank 29 inches so it would fit between the stringers. I sanded down the foam on the sides and dry fit it in. It fit by a hair. So I sanded more to create some breathing room on the sides.Prior to installing the new tank I sanded, chemical etched, and painted it with four coats of Rust Bullet Industrial Coating. I plan on locking it in place with rows of 3M 5200.
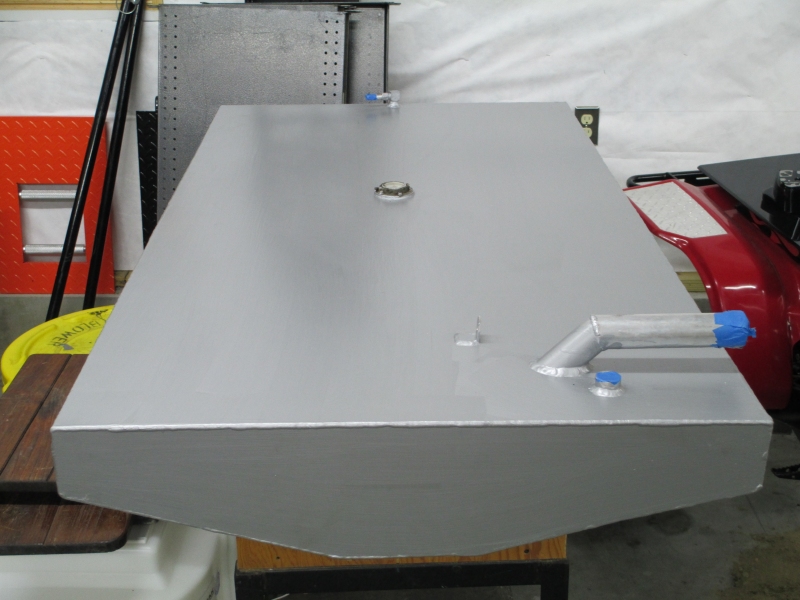
The new tank
To support the deck piece, I plan on building a two inch ledge of mahogany/aluminum plate on all four sides for it to sit on. Then I’ll attach it with countersunk screws and cover the screws and seam with 5200.
Since you are restoring an 1850. I just purchased a 1990 1850 sportfish. Mine has two live wells in the rear. I am curious as to which holes I need to plug when I take it out. Also, my lighting isn’t working and. Was hoping to rewire at some point. Are these made to where if I remove the bow light attach some wiring there to the old wires, I can just pull/snake it through or will it get hung up somewhere?
Replaced my bow wire last year. Pigtail the new wire to the old and wrap it real well with electrical tape. I sprayed mine with some WD-40 before I pulled it through. It had a few sticking points but eventually made it through.
John
Thanks,
Any idea on the live well? I just plugged everything in the back when I took it out. But being as it is supposed to have live wells, I would like to use them. I just don’t want to leave the wrong thing unplugged then have it taking water.
The only hole you should need to plug for sure before going out is the drain hole for the hull. As discussed in a few posts here, many Wahoo! owners also prefer to plug the hole that connects the deck drain basin to outside the boat. But it’s not necessary…just a preference.
The two rear compartments that you’re referring to as live wells, these compartments can be used for any number of things. Battery storage and fuel/water separator storage are common uses. Unless they’ve been modified by a previous owner, these don’t connect to outside of the boat but instead drain into the deck drain basin. If you’re really not sure where they drain to, I’d simply pour a bunch of water into them when and what to see where it goes.
Thanks. I will give that a look.
Has anyone found a pre-fab aluminum replacement belly tank for their 1850?
Just bought a 1988 1850 and her tank has several holes in it…..
Cut the deck out staying on the outside edge of the smooth deck area in the center of the upper deck. Lifted the center console on top of 2×4’s and the rectangle piece came right out! Did have to cut a small 3″ strip out of the starboard side to get the cables and oil line through.
The tank was fairly easy to remove and now I’m ready to either have a tig welder patch her up or drop a new tank in her….
I just got off the phone with RDS fabricators in Perry Florida and ordered my new 45 gallon aluminum tank! RDS is the same company who made the original tanks, formally AFP, Aluminum Fabricated Products.
The model # for those of you who cannot read your original labels is
317-45A-AF
My 18.50 is a 1988 model and the tank I ordered is the exact spec. tank for this model, down to the location of the fill inlet, vent tube, fuel gage, and fuel suction.
The photos in this thread helped me make the perfect cut except I did my incision with one solid cut rotating the center console as I made the cut. I tilted the console to Starboard and slipped the entire deck piece out exposing the tank.
I will upload the pics. Soon and in two weeks when my new tank arrives I will show the completed project!
Call Linda at RDS in Perry Florida # 850-584-6898. My tank cost $470.00 (ouch) but it’s OEM and should offer me another 24 years of worry free service!
BTW, the holes were the size of a dime and above the half- full mark aft. In the rear of the tank. Over 25 gallons leaked out of the tank into the bilge and out of the drain plug into my yard. Killed over a 12′ square of grass! “Better than me and my kids!”
This issue is no joke and all in all not a real challenging job to address.
Love the Site Mike!!!!!!
Daniel Rhodes
Baton Rouge Louisiana
Awesome Dan. Thanks for the great info and yes, please do share when the project is complete. Lots of Wahoo! owners interested in this.